
INSTALLATION INSTRUCTIONS
Ensure all the parts are in the kit.
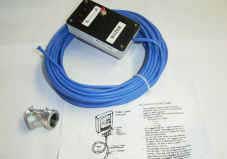
You should find the following parts:
– wall unit (with cable attached)
– galvanized metal weight
– two way tape
– mounting screws (4)
– installation instructions
 Find a suitable location inside the house, preferably close to the tank to minimize the length of cable required.
Run the wire from inside location to the tank. Take care when going through any external walls; be sure to seal them when you’re finished.
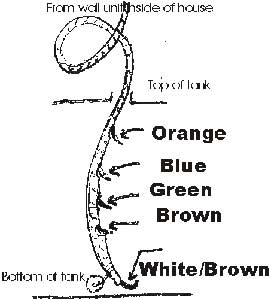
Measure the depth of the tank and determine the distance between the bottom to 1/4, then 1/4 to 1/2, then 1/2 to 3/4 and finally 3/4 to full. We suggest that the 1/4 mark be about 10 inches from the bottom of the tank and the FULL mark be about 10 inches below the water when the tank is full.
At the end of the wire, that goes in the tank, strip the wires as shown in the picture above. Be sure to leave at least 1 inch of bare wire at each tip.
Tie the weight supplied in the kit to the end of the wire and drop it into the tank. Once the weight hits the bottom, pull the wire to make the wire taut and fairly straight up and down.
OPERATION
Press the red button on the wall unit. If the tank is full, all four lights will light up. When the water drops below the full mark, only three lights will come on, and so on….. When no lights come on, the water level will be under the 1/4 mark. It’s now time to refill the tank.